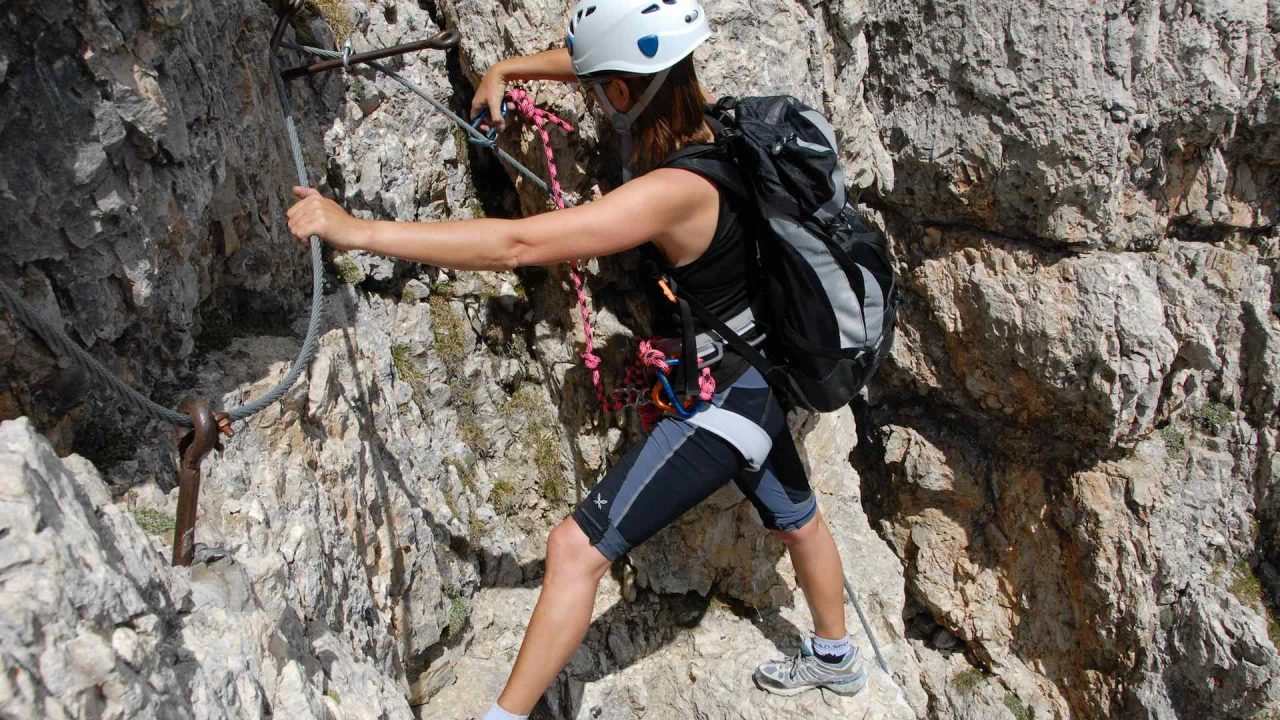
The Path of Flowers, beyond its very poetic name, is a high-altitude route capable of leaving a lasting impression on many different enthusiasts. We are talking about a ridge trail, a path dominated by bare rock, but also a trail where recent history of our country was decided, thanks to it being created during World War I.
The Path of Flowers was indeed carved and assembled during World War I by Italian soldiers who held the battlefront right here.
In recent years, its tourist appeal has blossomed—excuse the pun—even more: a manageable duration within a day, a not overly difficult level, and a length suitable for amateurs make the experience accessible to many.
At Meeters, we have extensive experience in event creation and organizing opportunities to forge new friendships and it is precisely for this reason that, with this article, we want to share everything you need to fully enjoy this stunning route in the Adamello group.
Some Key Figures About the Path of Flowers
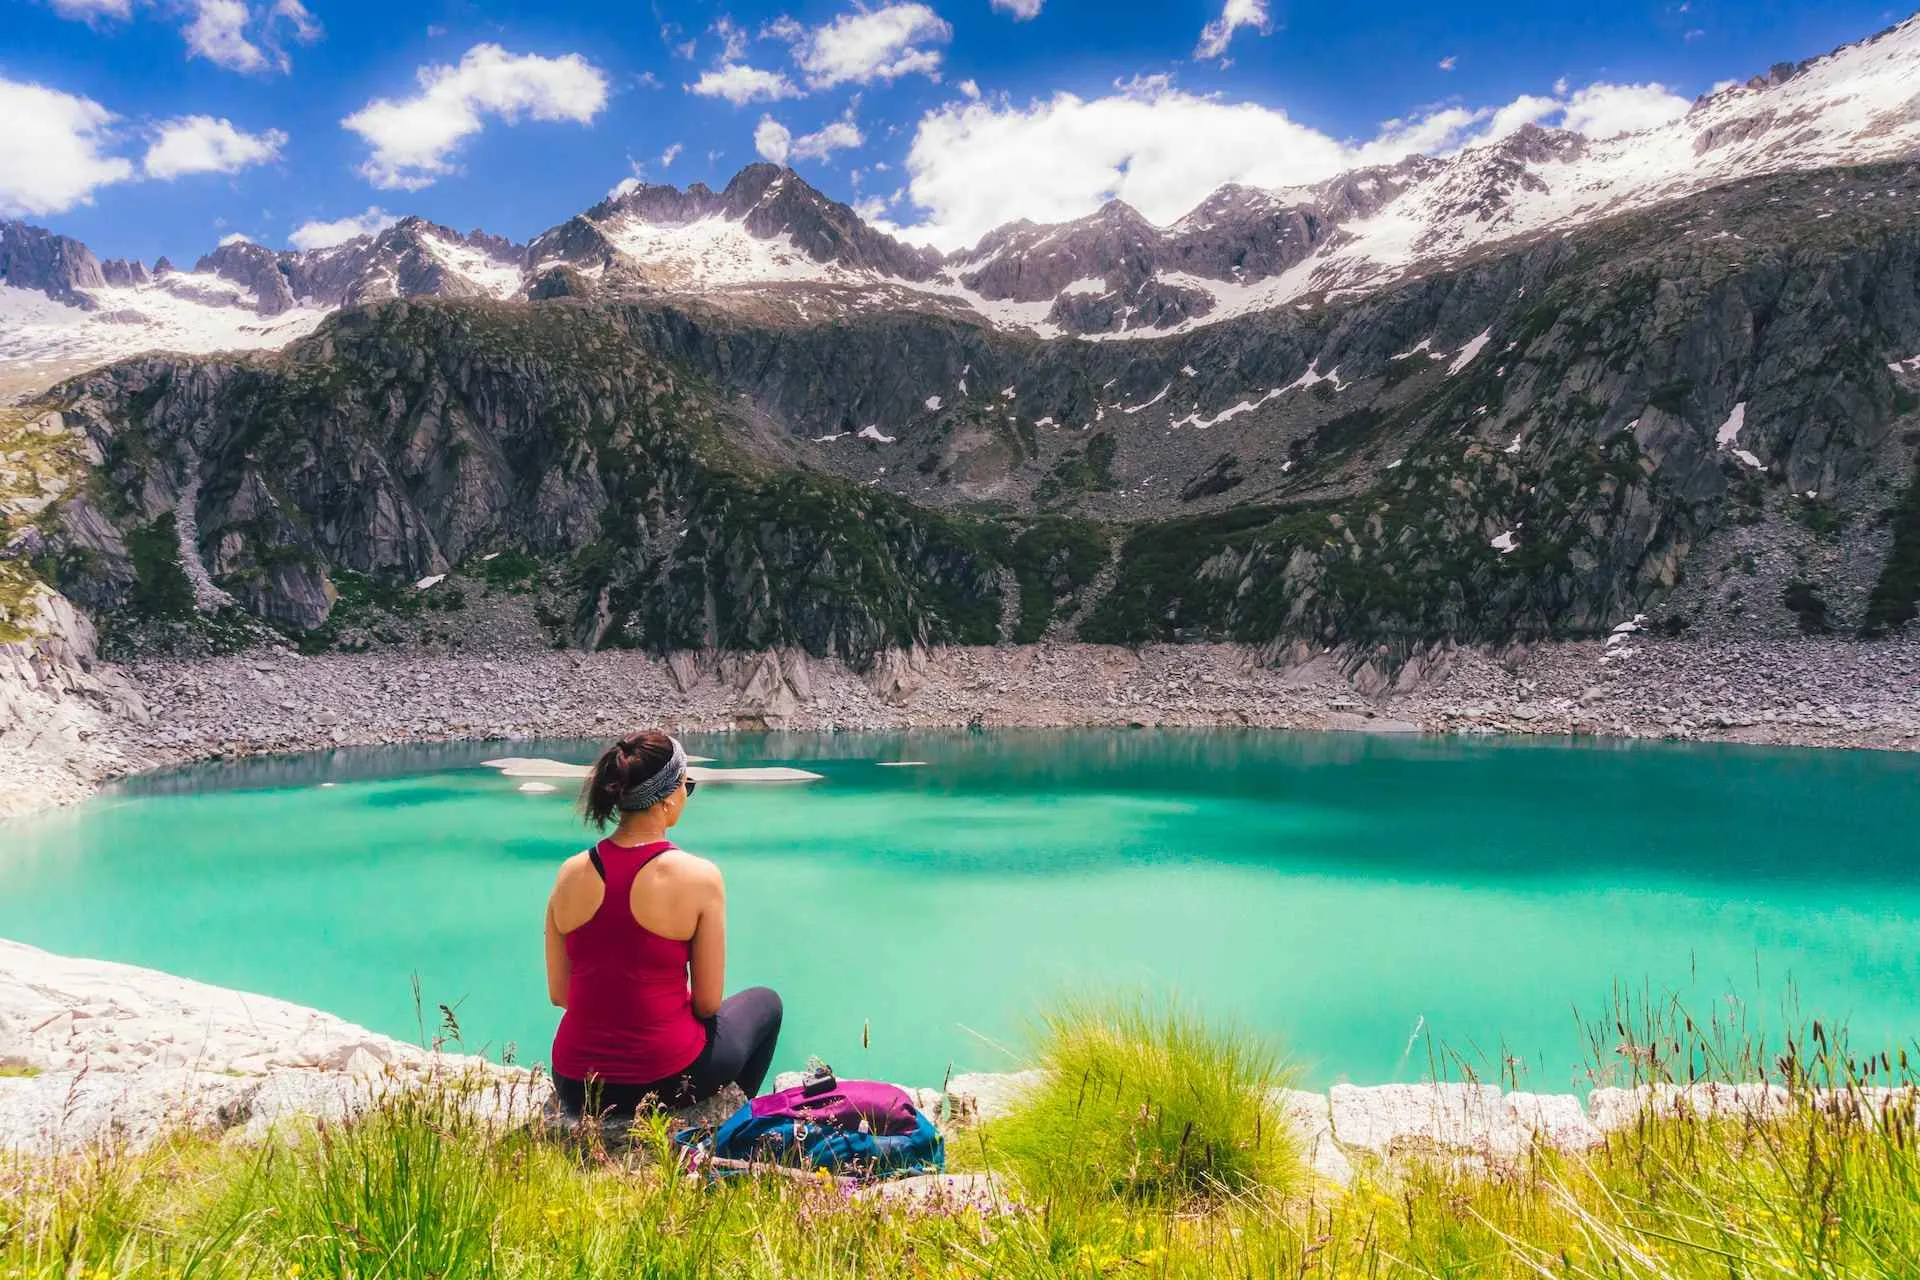
Let's start with practical information: the Path of Flowers itinerary requires, overall, about 9.5 hours of time including necessary breaks.
For the approach to the start of the via ferrata, about 1 hour and 15 minutes of walking is needed, and the via ferrata itself takes about 5 hours round trip.
The via ferrata involves an elevation gain of about 150 meters, while the entire itinerary covers nearly 500 meters of elevation difference. The maximum altitude reached is 3,088 meters, an important point we will discuss later.
[activecampaign form=22 css=1]
All this takes place along a route approximately 15 kilometers long, which is why this via ferrata is suitable for those with some hiking experience and not for casual Sunday tourists thinking of a stroll with children.
For via ferratas like this, the right equipment, proper clothing, and an appropriate experience background are necessary. The via ferrata is very exposed and is intended for experienced hikers capable of using lanyards and carabiners with harnesses, ice axes, crampons, helmets, and zero fear of heights!
Beware of the Time of Year
The route does not have great technical difficulty but takes place at quite high altitudes: this means it is possible, if not likely, to encounter snow, especially the closer you get to 3,000 meters.
In these cases, all the usual advice for high-altitude hikers applies: it is important to manage these situations with the right equipment.
The weather can change rapidly and force those on the route to sudden changes of plan. Fortunately, both during the via ferrata and the approach, there are alternative paths to descend and return to civilization.
These alternative paths correspond to three different passes: Passo di Lagoscuro (from which you descend first towards Passo di Maroccaro and then via the snowfield towards Capanna Presena), Passo Payer (from which you descend first towards Rifugio Città di Trento and then towards Passo di Maroccaro and Capanna Presena), and Passo del Lago di Pisgana (in this case the route mirrors the one described above).
Where Does the Path of Flowers Start?
The starting point of the path is Passo del Tonale, on the border between the provinces of Bolzano and Brescia. Parking is near the cable car at Passo Paradiso, and from there you need to take the cable car to reach the small lake in the direction of Passo del Castellaccio, perhaps following signs for trail CAI 44.
Approach to the Path of Flowers
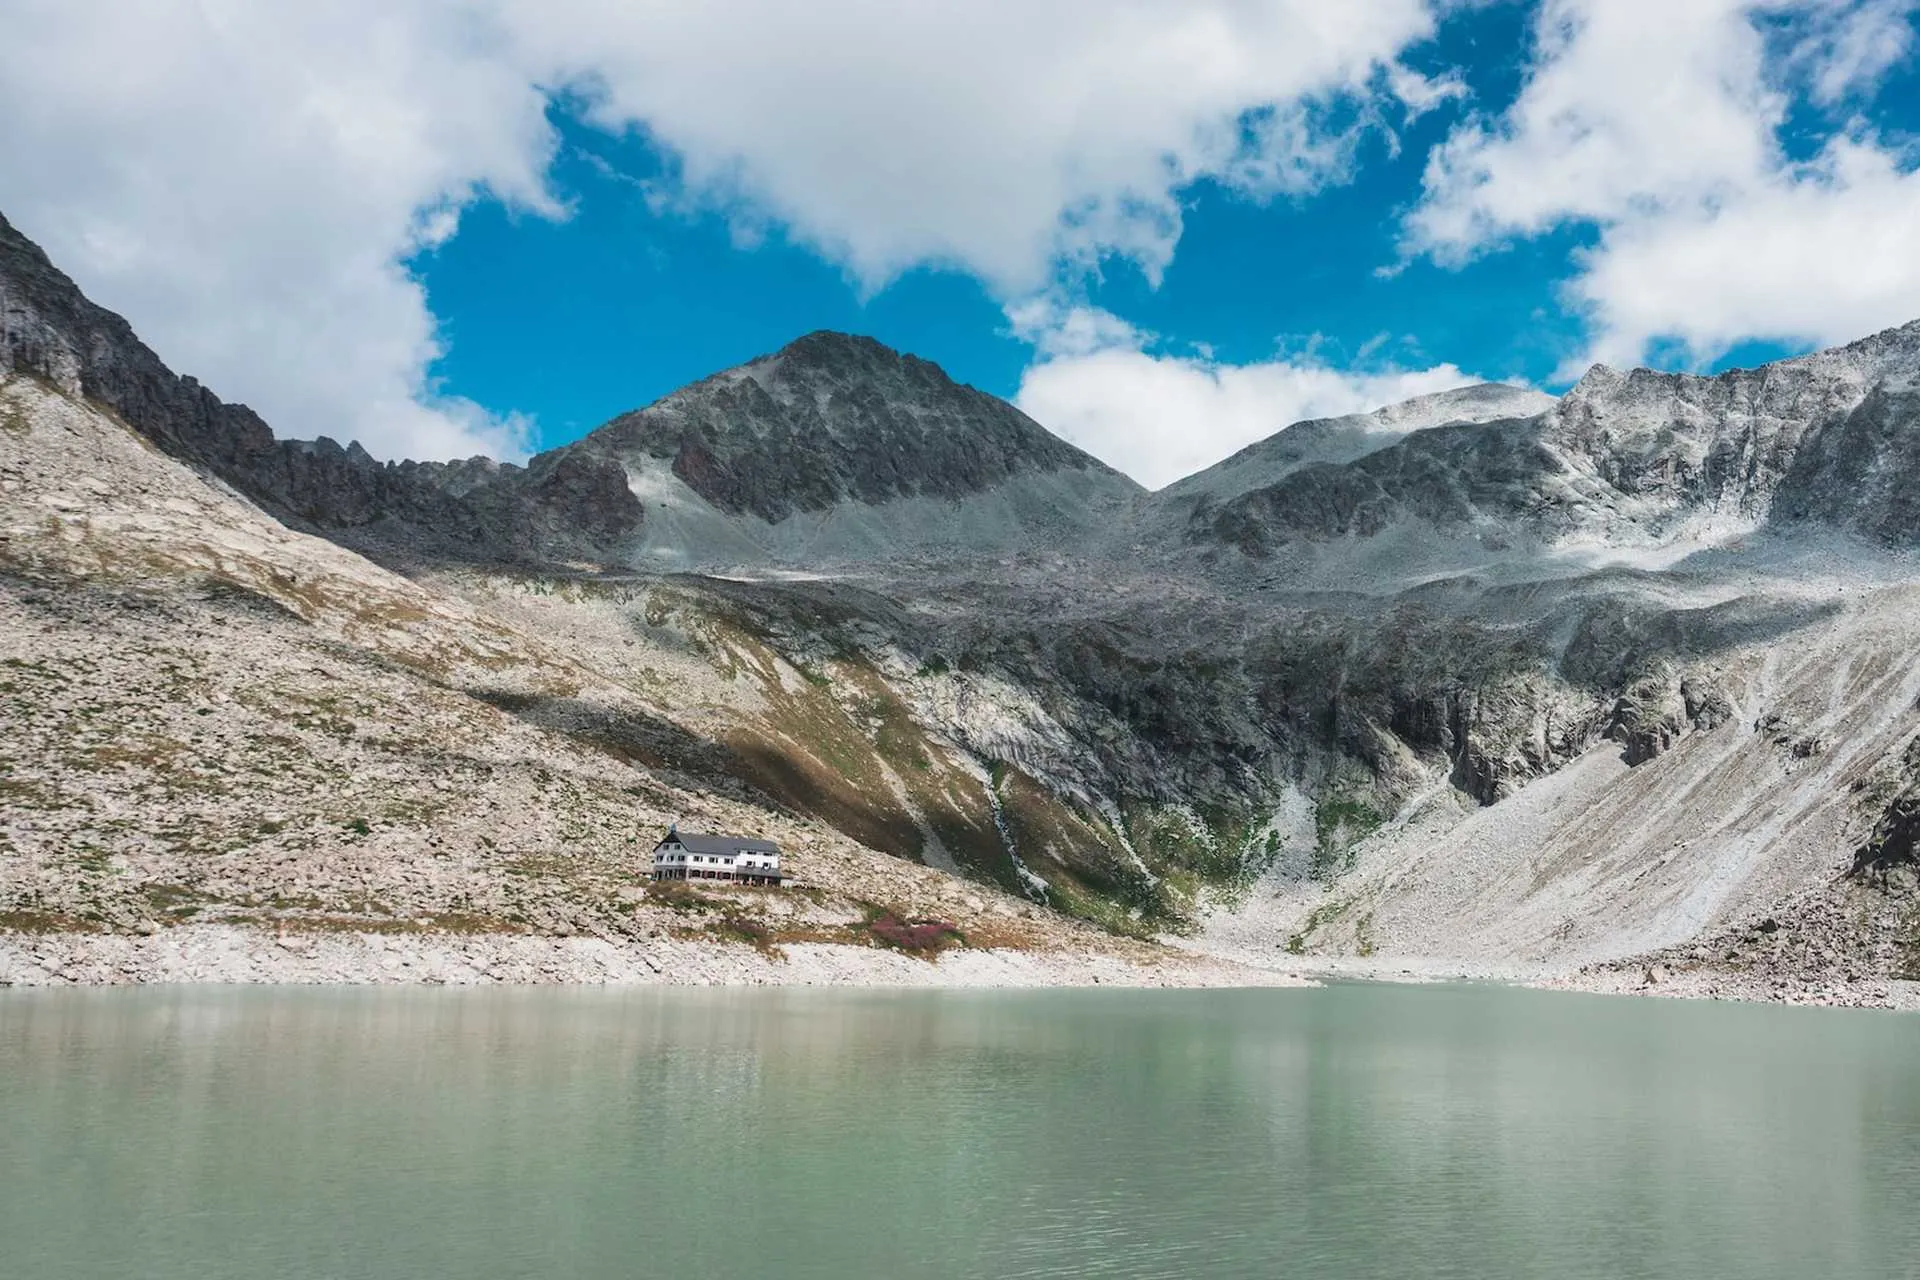
Upon arriving at Passo Paradiso, following trail number 44, you first reach the war memorial and then head under the moraines of Passo del Dito and another pass, this time Passo Castellaccio. The ascent here will be tough, entirely through an unfriendly scree slope with a winding trail climbing steadily towards the ridge.
In this context, the closer you get to the pass, the more likely you are to encounter barbed wire left over from World War I. Once you reach Passo Pisgana, the actual Path of Flowers begins, as also highlighted by the presence of a historical descriptive sign.
How the Path of Flowers Via Ferrata Unfolds
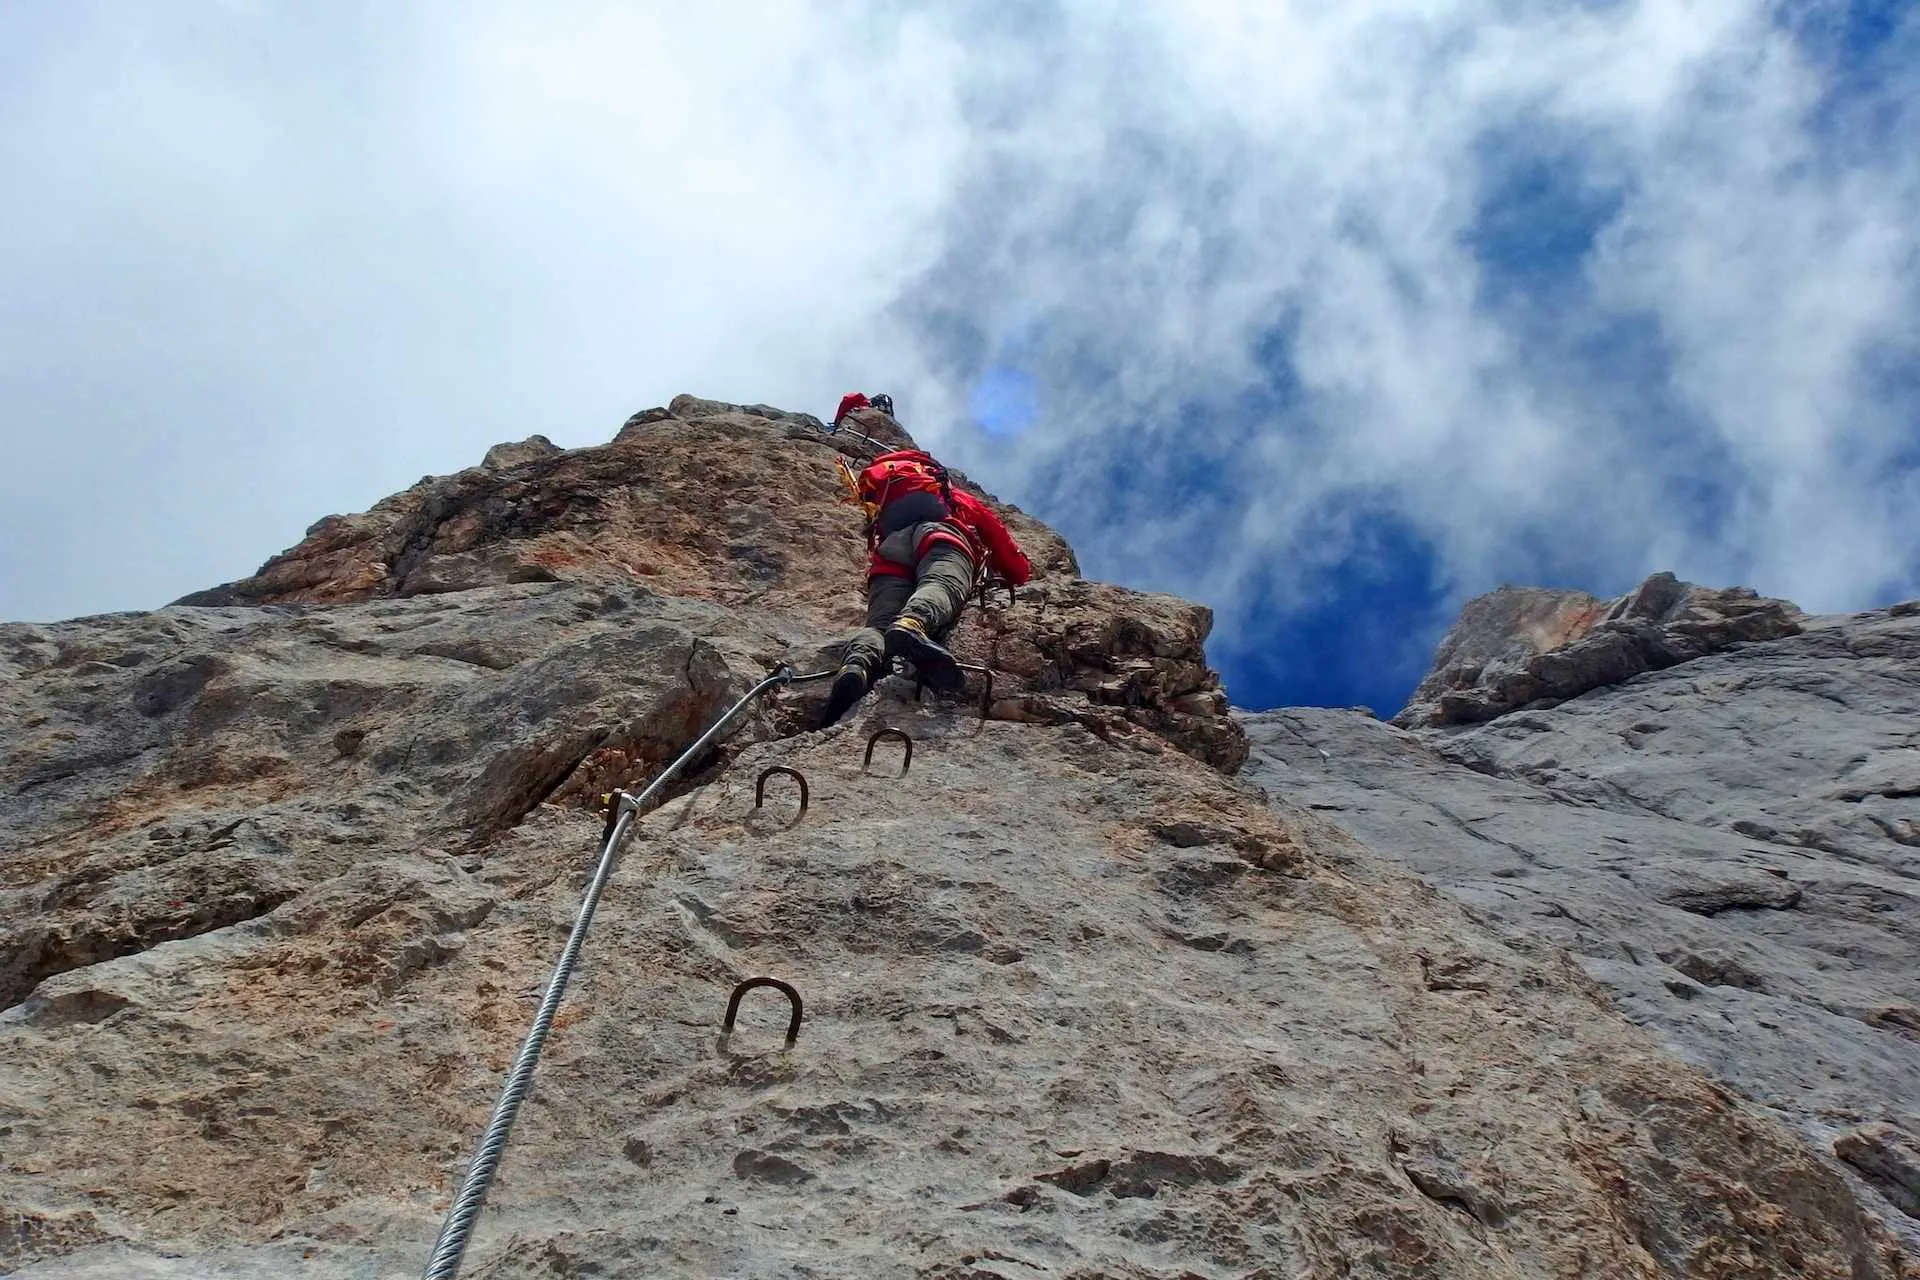
It's hard to explain a via ferrata step by step, but we'll try. Following the ridge, you must follow the trail traces until you reach the first equipped section, a ledge that develops with a series of ups and downs. After the ledge ends, a series of wooden walkways begins, with at one point a series of rungs leading to a peak (the Eagle's Nest detour). Continuing along the walkway, you soon reach the Gendarme di Casamadre. Here begins one of the most scenic segments of the entire route: the suspension bridge. Usually, the bridge is crossed on the way out; for the return, it is highly recommended to use the nearby tunnel built during the war.
After crossing the bridge and passing the gendarme, there is another ledge that skirts a corner and descends a few meters. After the ledge ends, you reach the usually most challenging part, also due to snow that tends to linger even into late summer. For most of the time, the trail remains fairly easy until you arrive at a wall with some rocks: here the equipped section of the route resumes but ends shortly after, also due to reaching the Bivouac mountain friends, usually managed during the summer. Continuing the route, aside from some boulders to bypass and a war trench to descend to reach a wooden chapel, there is not much else of note. of the mountain, usually maintained throughout the summer. Continuing along the path, aside from a few boulders to bypass and a war trench to descend until reaching a wooden chapel, there isn’t much else of note.